Beaded Wind Chime
What’s the best thing to keep the kids busy this summer? A craft project of course! Our Children’s Programs Supervisor, Doralynn Fiddler, has a nifty project to keep your kids occupied and having fun. Here is her creative take on making a Beaded Wind Chime.
This is a great project for kids of any age, but kids six and under will need help with some of the steps.
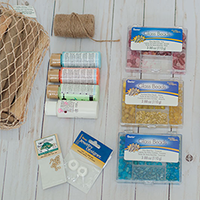
Supplies
• Driftwood Pieces
• Acrylic Craft Paint
• Glass Beads
• Painter’s Tape
• Jute
• Small Gold Eye Hooks
• White Beading Thread

Step 1 – Paint Stick
Here is where kids can get as creative as they want! You can decide to paint your stick first, just giving it some extra detail. Kids can freehand or tape off, whichever works best.
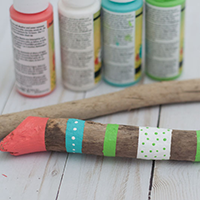
Once it’s dry they can add some more details with a fine paint brush. Adding some glitter paint would be a fun addition as well!
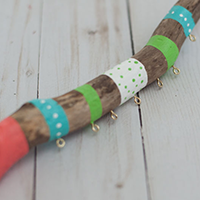
Step 2 – Add Hooks
This is the part that an adult will have to help with. The hooks actually go into the driftwood pretty easily. Just mark the spots and start twisting them into place. For a younger child this might be hard to do, but you can always get it started for them and they can finish it.

Step 3 – Add Beads
Now, let’s add our beads! When adding the beads, sky’s the limit! Get creative and mix them up to whatever design you like!
Once you’re done adding the beads, tie a knot at the end using a smaller bead to help keep it in place.

Step 4 – Add Hanger
Now let’s hang it up! Add two more of the hooks at each end of the wind chime. Then use some jute to hang it up!

The bright colours will definitely make a statement in the yard this summer, and the kids can be proud to show it off to everyone!
From Crafts Unleashed